AutoQuiz is edited by Joel Don, ISA's social media community manager.
Today's automation industry quiz question comes from the ISA Certified Control Systems Technician (CCST) program. Certified Control System Technicians calibrate, document, troubleshoot, and repair/replace instrumentation for systems that measure and control level, temperature, pressure, flow, and other process variables. Click this link for information about the CCST program. This question is from the Level I study guide, Domain 1, Calibration. Level l represents a professional who has a 5-year total of education, training, and/or experience.
A 0-30 psig gauge is undergoing calibration. Starting at 0 psi, the technician applies a pressure of 15 psi. The gauge reads 14.9 psi. Then the technician applies 30 psi of pressure. The technician then reduces the calibration pressure to 15 psi. The gauge reads 15.2 psig. What type of error do these readings suggest?
a) hysteresis error
b) span error
c) zero shift error
d) linearity error
e) none of the above
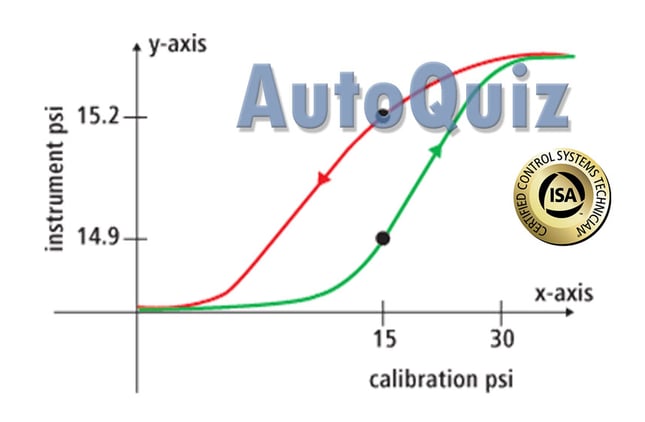
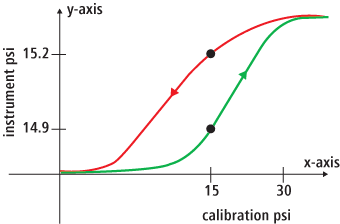
Hysteresis is that phenomenon of an element, or in this case the instrument, whereby the value of the output (14.9 psi) for a given excursion of the input (calibration tool's pressure-15 psi) depends upon the history of the prior excursion (increasing values from 0 psi) and the direction (increasing or decreasing) of the current traverse.
In this example, the first excursion is the increase from 0 to 30 psi stopping at 15 psi along the way. The second excursion is the decrease from 30 psi to 15 psi. The reading on the instrument going up in pressure at 15 psi was 14.9 psi. The reading coming down from 30 psi to 15 psi, at 15 psi, was 15.2 psi.

The x-axis is the calibrator input. The y-axis is the reading of the instrument which we are calibrating. Span error, when displayed on an input/output calibration graph, translates as a line that is not parallel to the ideal line. That is to say, both lines are straight, but their slopes are different. Zero error will show up on a calibration graph as two lines that are parallel because the shift is not only present at zero, it is constant throughout the range of the instrument.
The correct answer is A, hysteresis error.


